Mount an ISO in Windows 8
First, log in to Windows 8 and click the Desktop tile from the Start screen.
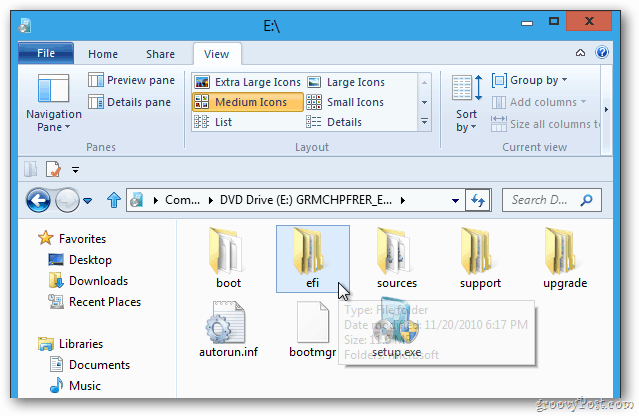
Navigate to the location of the ISO image you want to mount and click on it. You’ll see Disc Image Tools display above the Manage tab. Click Mount.
Now you’ll have access to the files on the ISO image.
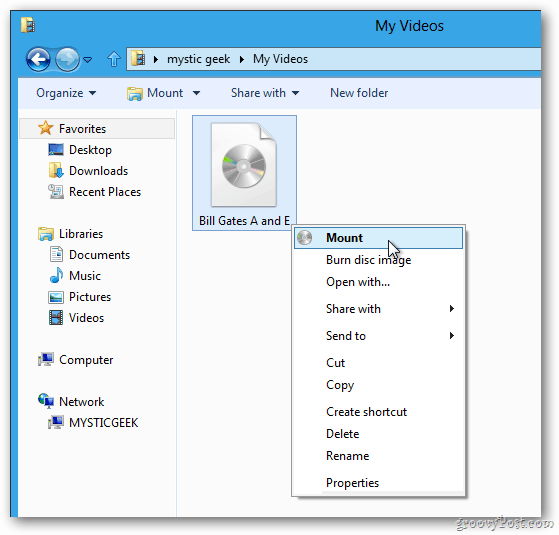
Alternately, you can navigate to the location of the ISO. Then right-click it and select Mount from the context menu.
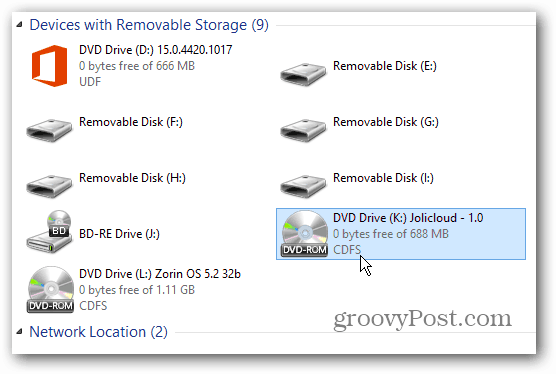
It only takes a second, and if you open Computer, you’ll see the ISO image mounted as a virtual drive. Windows will grab an available drive letter that’s available on your system. In this example I have Office 2013 Pro and two different versions of Linux mounted on my Windows 8 Computer. It grabbed the drive letter’s D, K and L as they aren’t taken up by other physical of virtual drives.
Double click the image to access the files you need. In this instance I can access the Setup.exe file to install Office 2013 — without having to burn it to disc first. This feature is especially handy if you don’t have an optical drive – say on a netbook. Games will run faster from the ISO image on the hard disk versus a physical CD or DVD.
Mount ISO Disc Image Windows 7
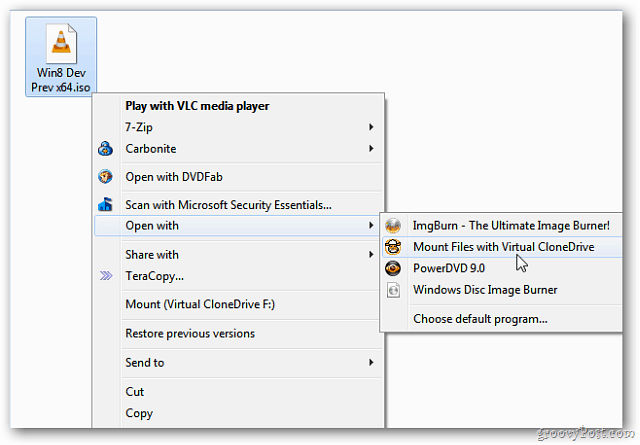
For Windows 7, Vista and XP you can mount ISO images by using a third-party utility like Virtual Clone Drive.
If your day-to-day computing requires using a lot of ISOs, Windows 8 has you covered — and without the need for third-party software. Groovy! It’s about time! Comment Name * Email *
Δ Save my name and email and send me emails as new comments are made to this post.


![]()
