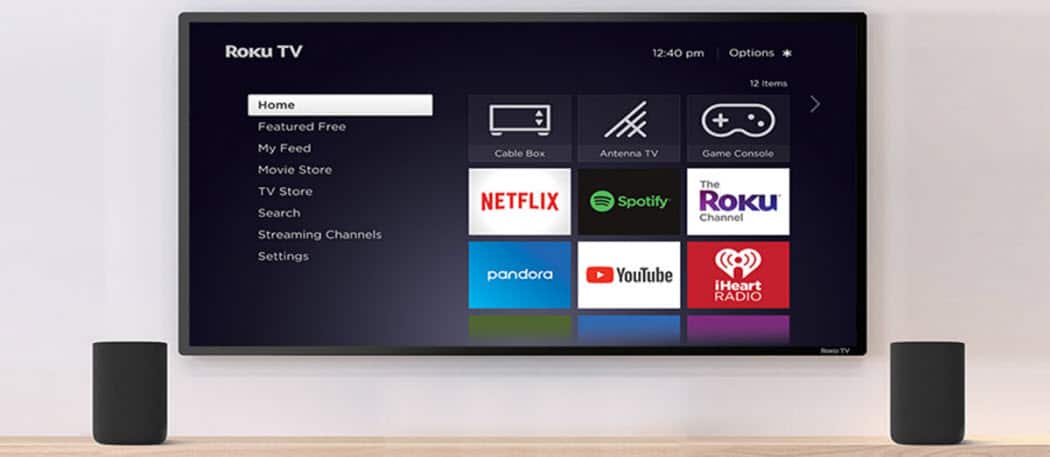
Adding additional storage allows channels, games, and screensavers to load faster. This is because your Roku deletes the channels and games you rarely use to make room for new ones as you add them. You will still see your channel and game icons, but some will need to re-download first. So, the more drive space you have, the more it can cache on your Roku unit. Note, the microSD card will only store games, channels, and screensavers. You won’t be able to view any content from it like you can by connecting a USB drive.
Install a microSD Card in Roku Ultra (Or Older Boxes)
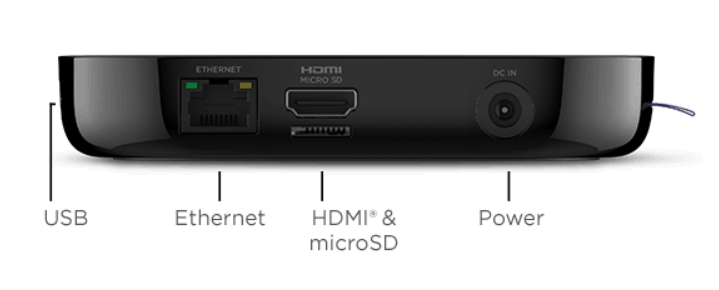
1 – If you have your card, start by installing the card in the back of the Roku Ultra. Insert the microSD card into the slot below the HDMI port.
2 – Your Roku will detect the card, and you need to choose the Format option from the menu.
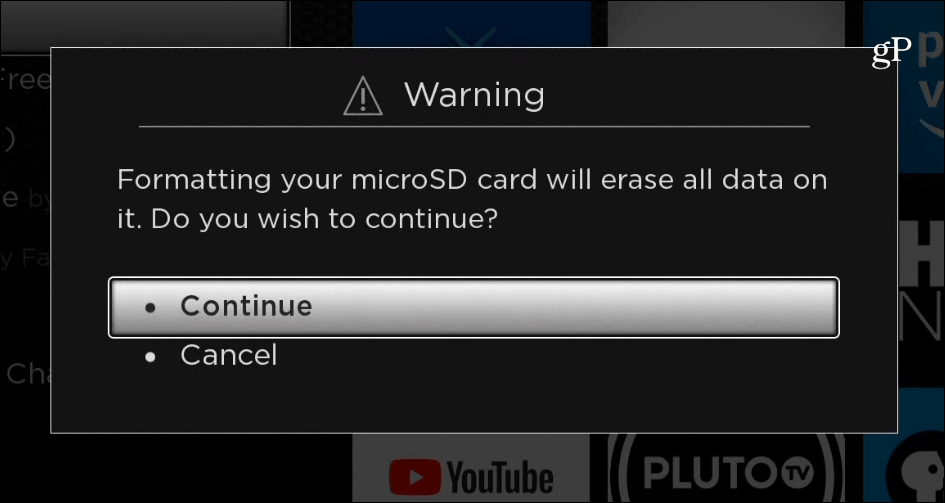
3 – Next, select Continue to verify you want to format the card, which will erase all the data on it.
4 – Wait while the microSD card is formatted to be compatible for use with Roku OS. The amount of time it takes will vary depending on the size of your card but should only take a couple of minutes. When it’s done, select OK.
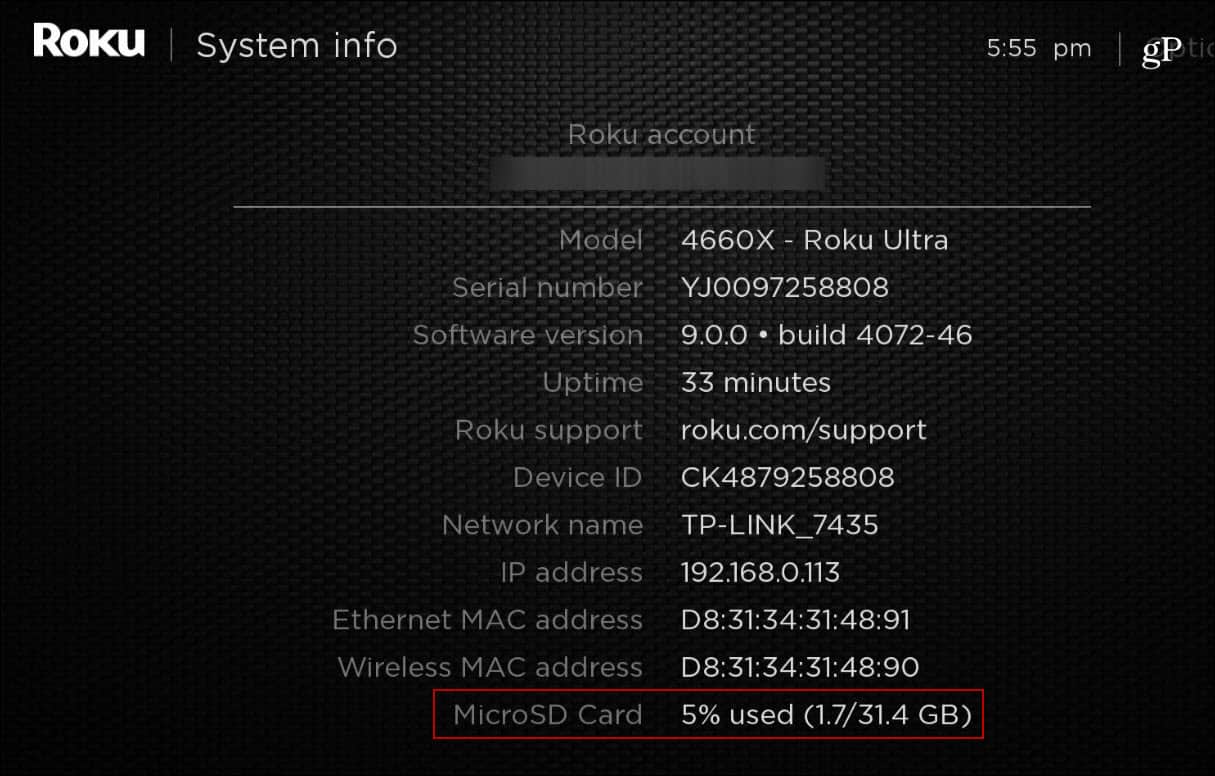
5 – That’s all there is to it. To track the amount of space being used on your card, head to Settings> System > About, and you will see it displayed on the System info page.
Of course, you can also add a microSD card to older Roku models that have a slot. The process is the same, insert the card and follow the onscreen instructions as outlined above. If you install many channels, screensavers, and games, it’s nice to have the extra storage as it helps keep the overall experience fast and responsive.
![]()


