Adjust Outlook Mark as Read Timer
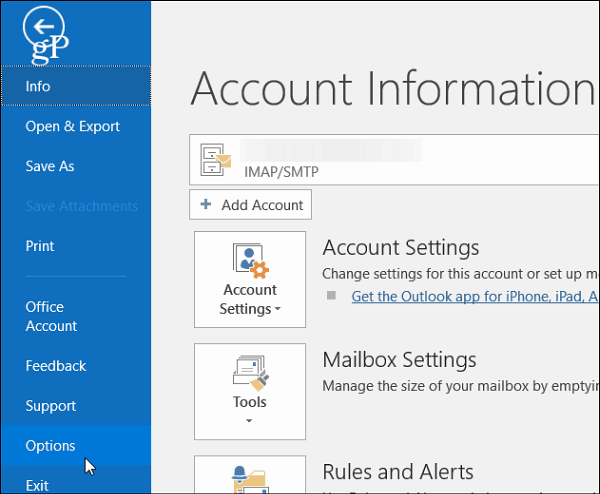
Click the File tab on the ribbon and then select Options.
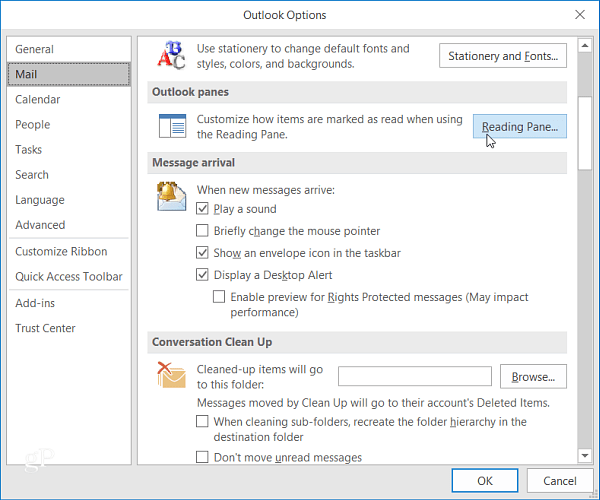
Next, in the Outlook Options window, select Mail in the right pane, scroll down to the Outlook panes section and click the Reading Pane button.
There you will find that the default selection is set to Mark item as read when selection changes. To set your own custom time, check the box next to Mark items as read when viewed in the Reading Pane. Then enter the number of seconds you want Outlook to wait before marking the item as read. Then click OK and OK again to close out of the Outlook Options window.
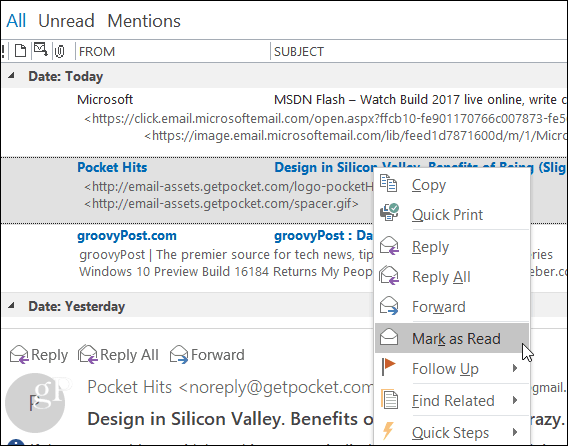
When you read an email, Outlook will wait for the amount of time you entered before marking it as read. If there are messages that you would prefer to be marked as read more quickly, you can manually select them. Just right-click on the message and select Mark as Read from the context menu.
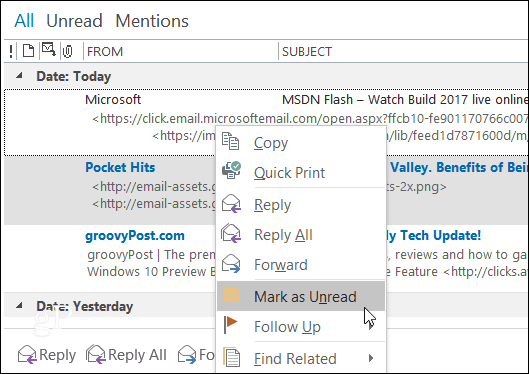
Note that you can also set messages that are already marked as read to unread from the context menu. Also, you can select multiple messages at once by holding Shift or Ctrl and click the ones you want to mark as read or unread.
If you are still running Outlook 2010, check out our article on adjusting the “mark as read” timer in our article here. What’s your take? Do you stick with the Outlook defaults, or do you like to customize Outlook settings? Tell us about your favorite hacks in the comments! Thanks Comment Name * Email *
Δ Save my name and email and send me emails as new comments are made to this post.


![]()
