HDR in the Google+ Photo Editor
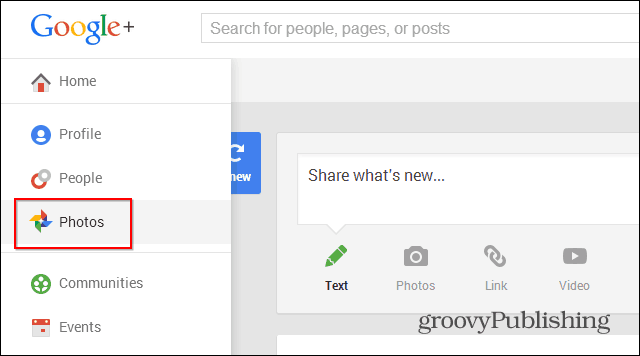
The new High Dynamic Range (HDR) features were announced a few days ago by Google’s Andre Meyer in this post on his Google+ profile. Just like the other Google+ photo editing tools, the HDR ones only work in Google Chrome. If you don’t have it installed, you can always download it from here. Start by logging in to your Google+ profiles and going to the Photos section as shown below.
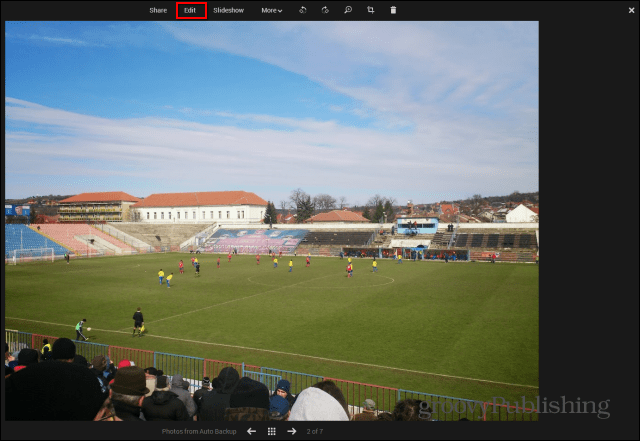
Then, click the photo you want to play with, or you can always upload a new one. I decided to go with an image from one of my local soccer team’s game. After opening the image, click Edit in the top menu.
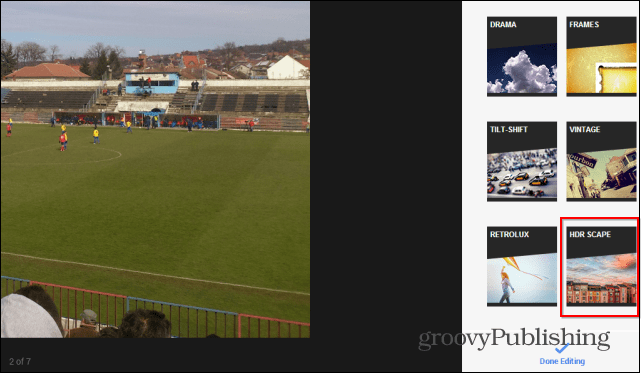
The Editor’s options will appear on the right side. HDR Scape can be found by scrolling all the way down.
Here comes the cool part. If you like using preset filters, you can just click one of the six presets on the top right side. As you can see, the results are quite spectacular.
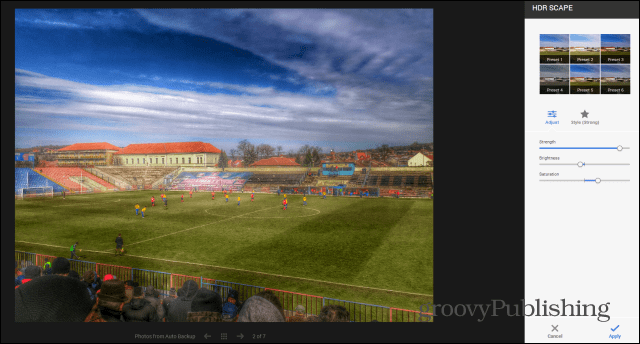
Starting from what any of the presets have done, you can do your own tweaks, using the sliders. You can adjust the strength, brightness and the saturation, too, until the images is just as you want it to be.
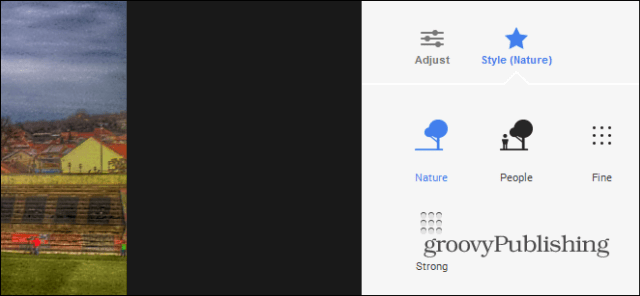
You can tweak your image some more by clicking Style (Nature). This will bring up yet another set of options.
When you’re done, don’t forget to click Apply, then Done Editing, in order for your changes to be saved. Now, let’s compare my initial image and the one with HDR Scape.
And this is the edited one:
Comment Name * Email *
Δ Save my name and email and send me emails as new comments are made to this post.


![]()
